Spatial Search
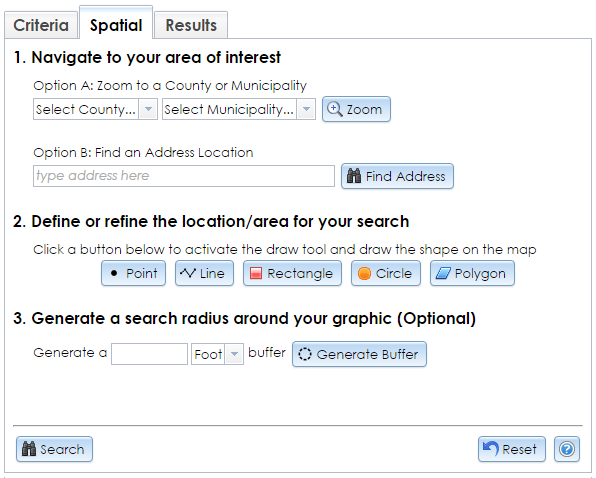
The Spatial tab on the Search page features a series of steps for using the map interface to locate and open records in CRIS.
Step 1, Navigate to your area of interest, provides two independent options for zooming the map to a specified area:
- Option A: Zoom to a County or Municipality: Select a county or municipality to zoom to on the map. The municipality list comprises villages, towns, cities, reservations, and boroughs. You must select a county before you can select a municipality. Note that some municipalities may not be represented on the map due to dissolutions, new incorporations, and other discrepancies between the municipality table and the GIS layer.
- Option B: Find an Address Location: Enter the street address in the field and click the Find button to locate the address on the map. Complete addresses, including ZIP code, will increase the accuracy of results. The name of the location’s actual municipality may differ from the place name used by the post office, especially in rural areas and New York City, so ZIP codes will generally resolve this difference. Street names can be spelled out or abbreviated (such as St, Ave, SR, Hwy, and Rte). For highways, alternate names such as Columbia Tpk, US 9, Hwy 9, and Route 9 are generally acceptable. You may also enter an intersection (such as 102nd St & 9th Ave, Troy, NY 12180) or coordinates in decimal degrees (such as -73.943570, 40.804097).
Step 2, Define or refine the location/area for your search, allows you to draw a shape on the map to specify a search area. Click the button for each shape to activate the drawing tool on the map. Click the button again or click another button to reset the drawing tool.
-
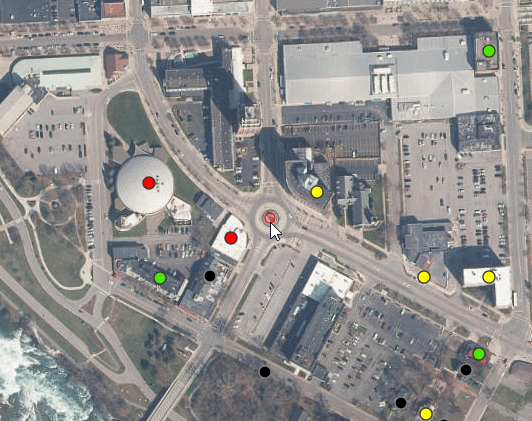
Point: Click on the map to place a point. You must use the Generate Buffer tool to specify a search radius around the point. If you used the Find an Address Location tool, a point will already be on the map.
-
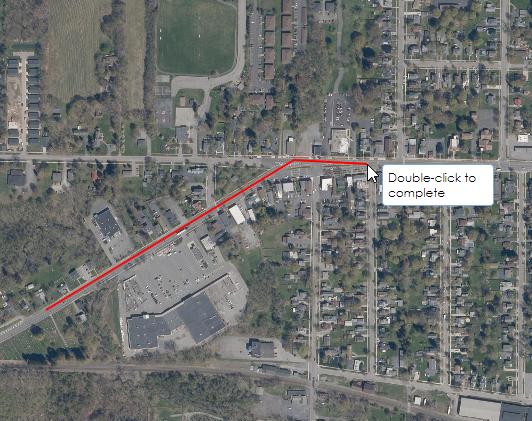
Line: Click on the map to place the endpoint of a line segment. Click on the map again to set a corner and continue with another line segment. Double-click on the map to set the final endpoint. You must use the Generate Buffer tool to specify a search radius around the line.
-
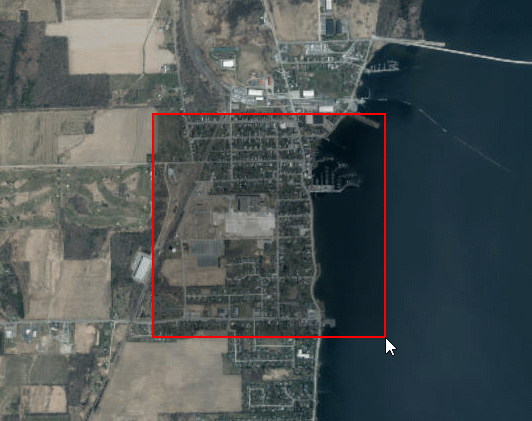
Rectangle: Click on the map to set one corner of the rectangle, then drag your cursor to set the extent of the rectangle. You may search within this rectangle or use the Generate Buffer tool to specify a search radius around the rectangle.
-
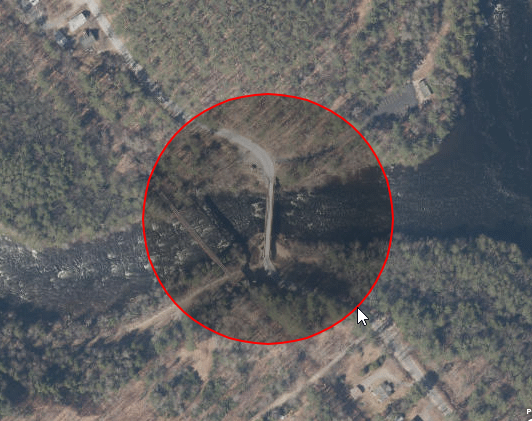
Circle: Click on the map to set the center of the circle, then drag your cursor to set the radius of the circle. You may search within this circle or use the Generate Buffer tool to specify a search radius around the circle.
-
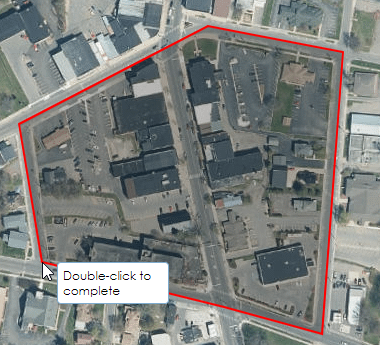
Polygon: Click on the map to set a corner of the polygon. Click the map at other points to continue setting corners along the polygon boundary. Double-click at the last corner of the polygon boundary (before the first point you drew) to complete it. The drawing tool will automatically connect the last point you draw to the first one. Avoid double-clicking very close to or on the first point you drew, since this may cause your boundary to overlap itself, which will make the boundary invalid. You may search within this polygon or use the Generate Buffer tool to specify a search radius around the polygon.
Step 3, Generate a search radius around your graphic, allows you to specify a buffer distance around the point, line, rectangle, circle, or polygon you placed on the map. Enter the number of distance units and select the unit (feet, meters, kilometers, or miles), then click the Generate Buffer button to set the buffer around the shape.
After you have set your search area on the map, click the Search button in the lower left corner to retrieve results within the search area. These results will display on the Results tab. To clear the Spatial Search tools, click the Reset button at the lower right corner of the Spatial tab.
