|
Both Building Inventory Forms and Proposed Districts can be exported within Manager to an Esri File Geodatabase for use outside of the Trekker environment. The file geodatabase is automatically compressed and downloaded as a ZIP file.
It should be noted that photos and attachments ARE included in the export, but are in File Geodatabase format (embeded in the geodatabase records as objects). Therefore, the user will need to use ArcGIS Desktop, ArcGIS Pro or some other GIS application to access the file geodatabase.
To export data, open the details page for the desired Trekker Survey project (from the Projects tab, click the View button on the desired project). On the left panel of the project details page, click the Export Data button as shown in the image below.
.png)
The Export Data dialog is then displayed as shown in the image below.
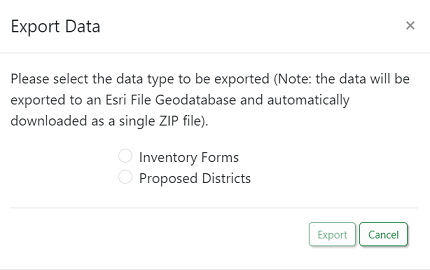
Select the radio button for the data type to be exported (Inventory Forms or Proposed Districts) and click the Export button (each data type must be downloaded separately). A dialog is displayed indicating the export is being generated. Depending on the number of features being exported, this could take up to several minutes to complete. When the export is done, the browser should indicate that the ZIP file has been downloaded.
|