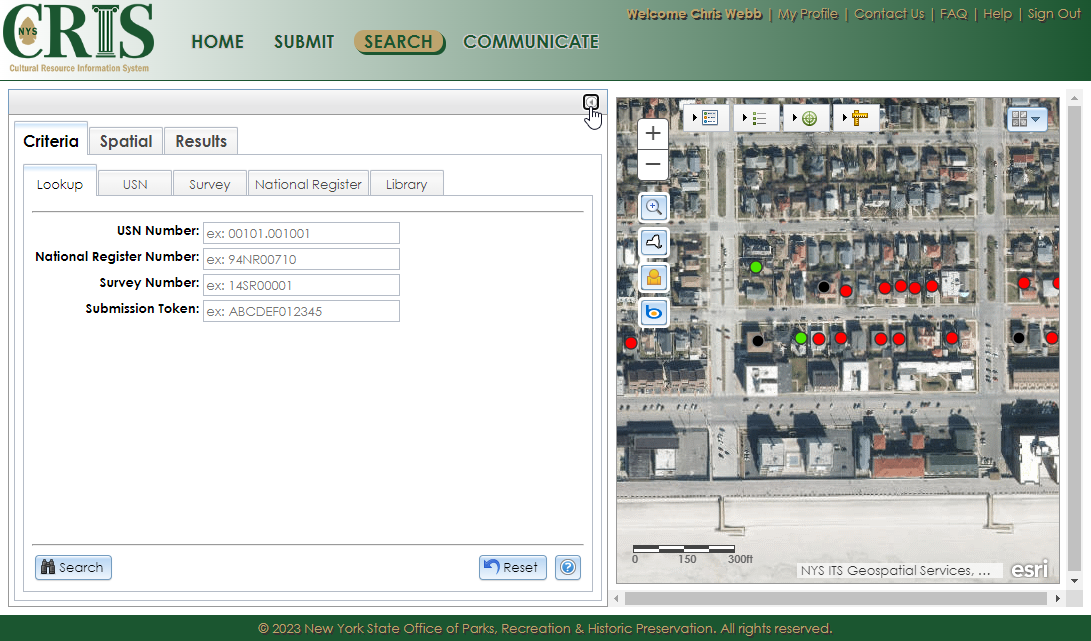
The interactive map interface is displayed in many places throughout CRIS, including the Search page, resource wizards, and details modules. The interface contains several controls and tools that are listed below. Note that some tools may be omitted from some maps.
The following controls perform a function as soon as they are clicked.
| Zoom In/Out: Clicking the Zoom In (plus) or Zoom Out (minus) button zooms the map in or out by a factor of 2. The scale bar in the map interface’s lower left corner will indicate the scale in miles or feet. | |
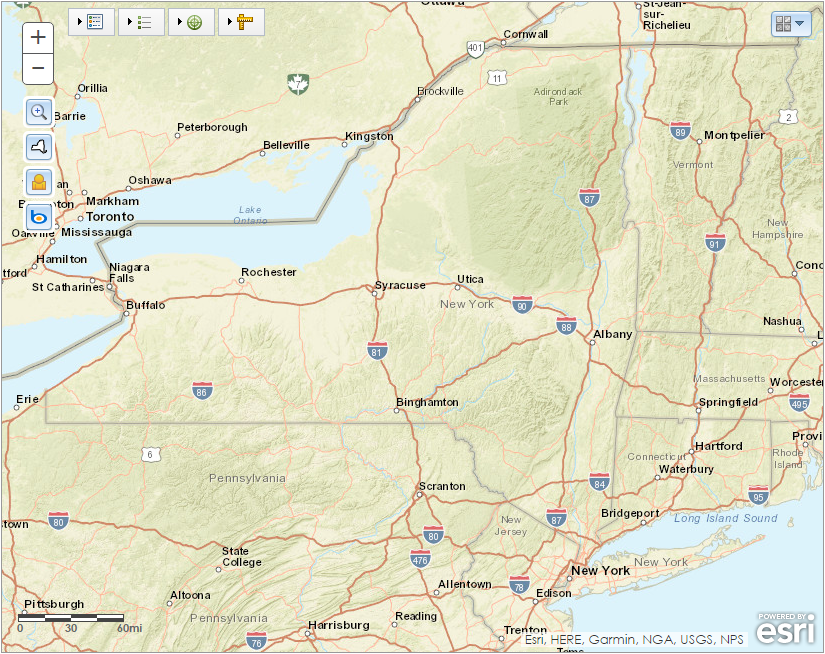
| Full Extent: Zooms the map to the entirety of New York State. | |
| Initial Extent: Present in the details modules only. This button zooms the map to the original area that was shown when you opened the module. |
The following controls are dropdowns. When you click them, they will open downward. To close the dropdown, click the control again.
| Legend: Shows the symbols used for each layer that is currently visible on the map. See the Layers help topic for a description of each layer. | |
| Layer List: Lists the layers that are currently available for viewing. Each layer will have a checkbox for toggling the layer on or off. If the checkbox is gray, the layer is invisible because the map is zoomed out too far. See the Layers help topic for a description of each layer. | |
| Locate: Allows you to zoom the map to an address, intersection, municipality, prominent place (such as a university or park), or coordinates in decimal degrees (such as -74.131123, 44.012827). | |
| Measure: Allows you to measure area, distance, and geographic coordinates. Click the measuring tool you wish to use, select the unit of measure, and click on the map to begin measuring. For the area and distance tools, clicking once on the map will set a new corner for your polygon or line, and double-clicking the map will complete the polygon or line. | |
| Basemap: Switches the background to labeled streets, aerial photography, or topography. Note that some landforms, water boundaries, and other details may not be accurately depicted in the Streets basemap. Photographic basemaps (such as NYS Orthos) are generally better references for drawing accurate boundaries. |
The following tools are toggle controls. When you click a toggle control the first time, the tool will be enabled and the control button’s border will change from white to yellow. This will change what happens when you click the map. Click the button again to turn the tool off and the button will have a white border again.
| On | Off | |
|---|---|---|
| Zoom by Extent: Turn the tool on, then click the map and drag a red rectangle around an area to zoom the map there. Alternatively, you may zoom to an area of the map without this tool by using the mouse’s scroll wheel, the plus/minus buttons in the upper left corner of the map, or by holding the Shift key and clicking and dragging a rectangle around an area. | ||
| Google Street View: Turn the tool on, then click the map to open Google Street View at that location, if imagery is available. This view will open in a new browser tab. | ||
| Bing Bird’s Eye View: Turn the tool on, then click the map to open Bird’s Eye View at that location, if imagery is available. This view will open in a new browser tab. |
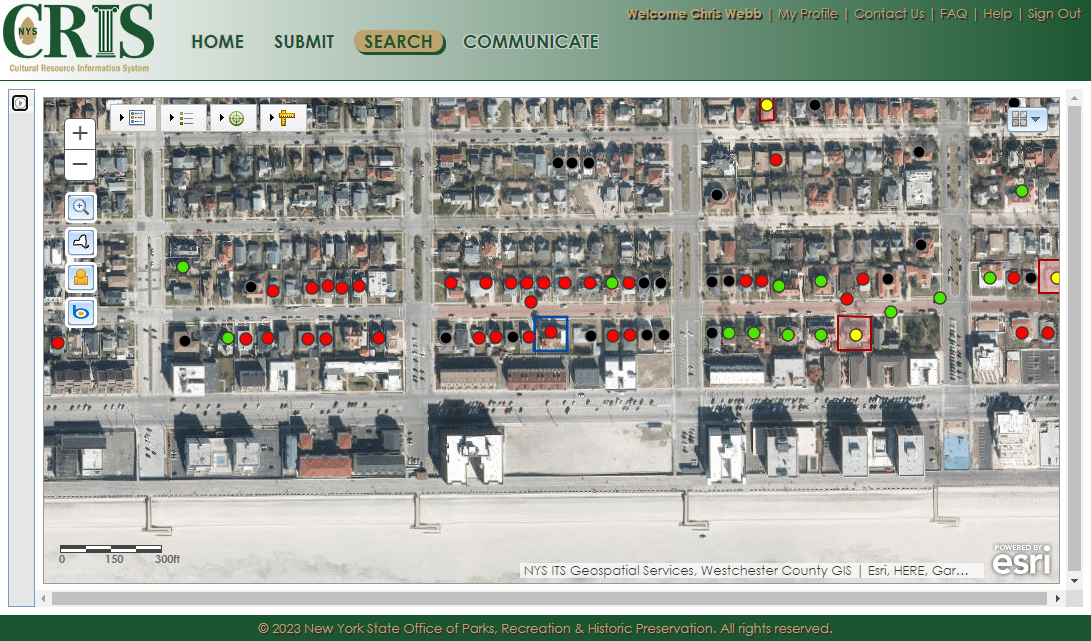
In the details modules and on the Search page, there is an expander button in the upper right corner of the sidebar next to the map. Clicking this button will hide the sidebar and expand the map interface to full width, as shown below for the Search page.